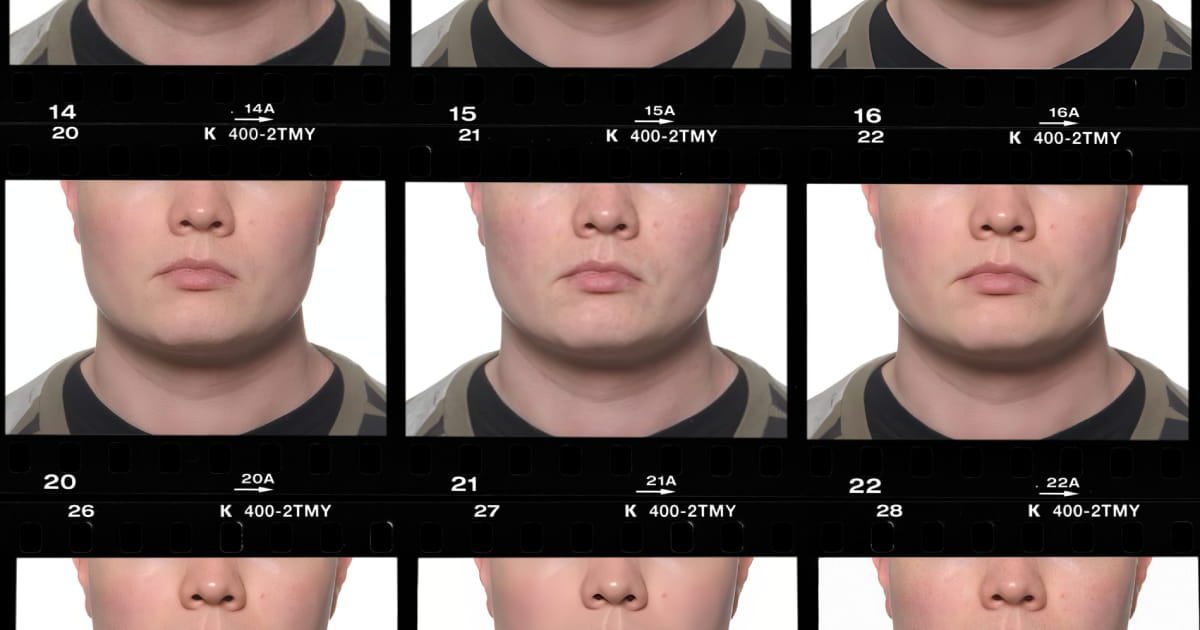
Part of “Proof Series”, where I will be comparing Enlarger to other alternatives. More to follow! If you have a tool or model suggestion, shoot me a message.
Introduction
Most AI upscaler landing pages show gorgeous before/after comparisons that are honestly marketing fluff. On the left there’s usually a tiny, pixelated image, and on the right one that feels almost like magic: details and textures kept, restored to pixel-sharp.
Over the years I’ve downloaded demo images from a number of these tools and run them through their own software. I couldn’t get any of them to reproduce the results shown on their own landing pages, even after tweaking settings.
The web-based upscaler market is saturated with tools built on this false perception, preying on curiosity - is this real? Maybe I’ll sub it once and try it out? Most charge $5–$25 a month and/or run on a credit system. They run inference on your images on their rented servers for a quick buck.
On the other end of the spectrum are the “pay a lot, installer downloads 70 GB of models, good luck figuring out the settings, maybe it runs in the cloud, maybe your license covers commercial use, maybe not” -applications.
The reality is, in 2026 you can run upscaling on your own computer just fine. You don’t need to send your images to some third party with shaky retention and privacy policies, and you don’t need to pay a lot of money to get something tangible.
The Stamp Benchmark
In this post I wanted to do the opposite of the marketing fluff. I’ll run the “stamp benchmark”, which might be the most unflattering benchmark of them all. This kind of a test case is borderline unfair to every model in the comparison, mine included.
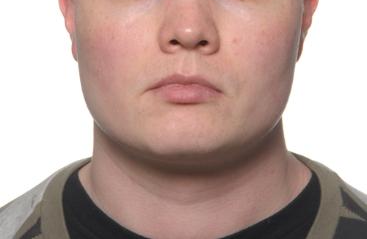
In it, I’ll take a very small, stamp-sized image (367x479px), blow it up 4x (1468x1916px), and see where it lands us. I used my own passport photo since it’s a classic example of a small photo, but I won’t share the whole image for obvious privacy reasons. I cropped the top half.
I chose Upscayl for the comparison because it’s readily available for you to download. You can grab the passport image yourself and verify the output. I think (though I can’t verify every case) that the same tech behind Upscayl also powers a lot of web-based AI upscalers.
Note: this isn’t a hit piece on Upscayl. I’ve used the tools and the models they ship extensively, and they’re for sure good enough for some use cases. They’ve made upscaling accessible for a lot of people (especially on Linux!) and deserve credit for that.
Another note: best viewed on a desktop with at least a 1080p monitor. On mobile I’ve zoomed the examples in a little.
Upscayl — Standard
Let’s kick off with this one. As Upscayl’s “base” model, it’s probably what most people use when booting up the application.
This model is what inspired me to build Enlarger more than any other. It nicely removes JPEG artifacts and denoises, but at the cost of almost all the detail in my skin. That classic waxy, too-smooth look I personally can’t stand. To be fair, it works for some upscaling jobs, but dear lord I wish you could see my eyes. They’re awful.
Upscayl — Lite
Next up, Lite. Faster version of the base model.
To me, Lite makes the detail loss worse and the skin even smoother. Maybe it’s good for modeling shots where that kind of airbrushing is wanted. For images that are already smooth it might work okay.
Upscayl — High Fidelity
High Fidelity, described in the UI as “for all kinds of images with a focus on realistic details and smooth textures”.
Right off the bat, my skin has some weird star-constellation thing going on. Probably because it picks up my imperfections and overdoes them. Rest of the skin is smooth-y, so obvious detail loss there. A bit more detail on the lips, which look fine-ish.
Upscayl — Remacri
Described as “For natural images. Added sharpness and detail”.
Yeah… gonna just say it’s not good. Not much sharper, and for some reason it makes my skin a bit paler. The detail’s there, I guess, but it’s not an improvement over the original.
Upscayl — Ultramix Balanced
“For natural images with a balance of sharpness and detail”.
The skin looks like I got the chills. The birthmark right of my nose looks like dirt. My nose looks like someone shined a bowling ball.
Upscayl — Ultrasharp
A less balanced(?) version of the previous one.
I’m gonna say it doesn’t look half bad if you didn’t have a before picture. The nose is better. Outside of that, I don’t like that it makes my skin chicken-like. The birthmark looks like I was in a fight. On the left and right side there’s something new that looks like small teardrops. I swear I wasn’t crying!
Upscayl — Digital Art
The last model in Upscayl, thrown in here for the sake of completion. Obviously not made for photographic images.
I can even see a creative use case for this one, so I’m not going to diss it. It’s just not for photographs, at all, and you can see it clearly.
Enlarger — Base
Lastly, let’s look at what my own app, Enlarger, does. Over the years I figured out the steps to best keep detail after resizing photos, and spent a good few years refining it inside an image editing program. The tedious task of doing it over and over got to me eventually.
For research and development, I bootstrapped a PowerShell script and spent a month tweaking the idea across thousands of images. I A/B’d a bunch of models and added automated post-processing steps that I felt were necessary. Here’s what the output says:
I’m happy with the results. It keeps the detail in the skin, and the birthmarks, nose, and lips look normal. It’s got a good mix of sharpness and detail.
You can see some added noise in the white background, but to me that’s just the cost of doing business. In classic enlarger tools of the analog era, making a picture bigger usually brought more noise along with it.
Conclusion
For some users, Upscayl works fine, though may require some further post-processing. Use it especially if you’re on Linux, need stuff done free, or work mostly with illustrations.
Use Enlarger if you’re preparing photographic work for print, need to run batches in parallel, or just simply want a natural output across jobs.
If you liked what you saw, trial Enlarger. It’s available for download on the landing page, with realistic image comparisons you can validate yourself!
— Jaakko