Introduction
In the world of arts, detail matters a lot. Single brushstrokes add to the overall composition and might separate an original from a fake; the viewing distance of art also varies based on the eye of the beholder. Some like it close, some watch from afar.
Museums regularly need to blow up artwork to be wall-sized for exhibition, have it catalogued in high resolution or printed as gift shop items.
Some more intricate workflows and projects might require batch processing of images which are then stitched together to create even bigger images, or even 3D versions of an item.
Why Enlarger?
Enlarger doesn’t cap height and width directly. What matters is total megapixels. The maximum megapixels that it allows the user to add to the queue per file is 40, which is quite a lot. For example, for a 16:9 aspect ratio that is 8433x4743 pixels. As such, the maximum output in megapixels for a 4x upscale is 640 megapixels or 33732x18972 pixels for the 16:9 aspect ratio picture.
Enlarger is a timesaver when you do not have a purpose-built camera at hand, or simply can’t bother to set up a studio or a scanner to get an ultra-high-resolution representation of an artwork.
It also does not use generative models to reach this objective, which makes it optimal when detail simply should not be created from nothing. Processing offline means that the user is not sending any copyrighted work to a third party which should not have access to it.
Enlarger doesn’t work only for painted pictures, and was originally created for photography. So it just happens that paintings have the same need for detail as photography, and are usually photographed itself.
Source Image
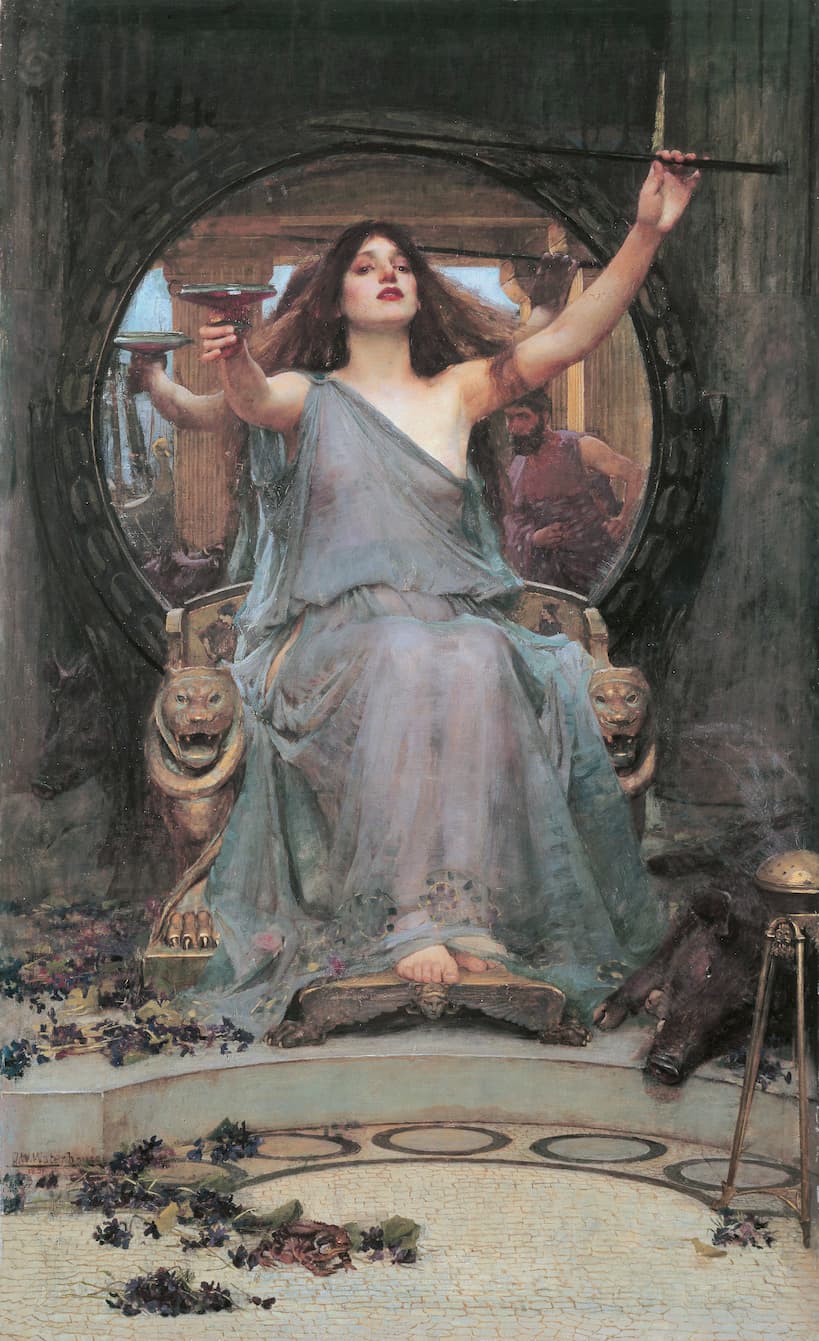
Like many, I recently went out to see The Odyssey. After that I got to Googling different lore and artwork that has been made throughout the years and found this beautiful painting by John William Waterhouse called Circe Offering the Cup to Ulysses (1891). Wikipedia says it’s in public domain.
The common sentiment seems to be that a print at 150 ppi/dpi is good enough from a conservative viewing distance, and 300 ppi/dpi is more for whenever you need and have the extra money to go for that extra detail in print.
The source image I started with was 2457x4023 pixels. This is a fairly large and a good image of the painting captured in a studio environment. If printed like so, the real life dimensions would be 16.4x26.8” (41.6x68.1 cm) at 150 ppi/dpi.
Detail Comparison
The original is somewhat noisy, shows cracks in the paint, and is not perfect. It is as it should be; oversmoothing details or removing scuffs would work against what we want to achieve. However, if one likes, imperfections can be preprocessed with a suitable image editing program such as GIMP.
I will lift some interesting details to be compared; these have not been pre- or postprocessed at all.
Note: best viewed on a desktop with at least a 1080p monitor. On mobile I’ve zoomed the examples in a little.
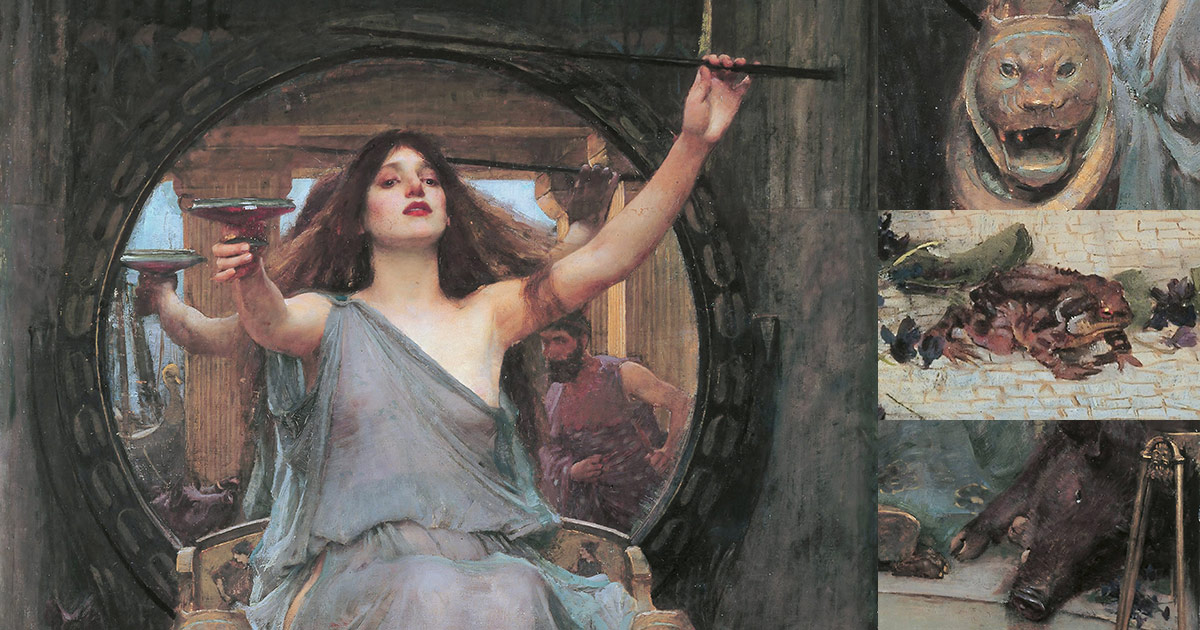
Throne handle
By adding more resolution, Enlarger adds sharpness, almost as if you picked up a pair of glasses and looked at the same picture again.
Frog
Did you notice a frog in the original picture? I did not, until I enlarged it. Enlarger keeps details nicely intact.
Pig
In the case of the pig, we can see that there is some slight detail loss in hair. Hair in general is a bit hard for most upscaling algorithms and models; I’d wager this is good enough though.
Conclusion
That’s basically it! For more context, in about 5 minutes of processing time (with an M4 MacBook Air @ 16 GB of RAM), we went from 9.9 MP to 158.2 MP without losing too much detail. The difference in numbers at 150 ppi/dpi is the following:
| Inches | Centimeters | |
|---|---|---|
| Original | 16.4x26.8” | 41.6x68.1 cm |
| Enlarged | 65.5x107.3” | 166.4x272.5 cm |
So height-wise, the enlarged version stands about four times as tall as the original. At 300 ppi/dpi we are also getting an impressive print size:
| Inches | Centimeters | |
|---|---|---|
| Original | 16.4x26.8” | 41.6x68.1 cm |
| Enlarged | 32.8x53.6” | 83.2x136.2 cm |
Which would work nicely for posters, for example.
Thank you for reading this far. If you liked what you saw, trial Enlarger. It’s available for download on the landing page, with realistic image comparisons you can validate yourself!
— Jaakko